![]() Home
Home

![]() Product
Product![]() Directory
Directory

![]() How to
How to![]() Order
Order

![]() About
About![]() Palco
Palco

![]() Send us
Send us![]() Feedback
Feedback
 |
 Toll-Free: 1-888-282-1313 Open: Monday - Saturday Hours: 10:00 AM - 6:00 PM (Eastern) 9:00 AM - 5:00 PM (Central) 8:00 AM - 4:00 PM (Mountain) 7:00 AM - 3:00 PM (Pacific)
3 Attach the bottom 10 ft. section of the tower to the steel base anchors and lower it into the hole. As shown below, you can use 2x4 lumber to make a simple slab form and support the tower base while pouring the concrete. Using a carpenter's level, shim the tower as necessary to get it completely plumb. Fill the hole with concrete. While the concrete is setting up, be certain that all three base legs are parallel. Proper leveling is essential. A minor mistake at this stage will be a major issue later! Allow 3 to 4 days for the concrete to set up. 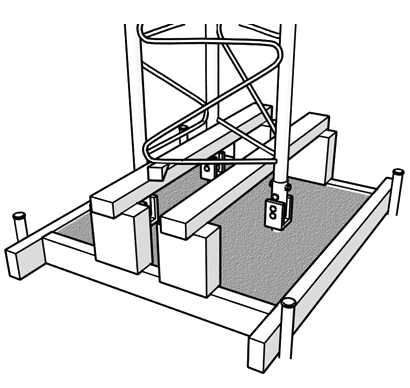 Tower Section: 4 Place each 10 ft. tower section on the ground, end to end, in the correct order of assembly tapering away from the base. 5 Remove one bolt from each front leg and two from the rear leg, then tilt the bottom 10 ft. section so that it's laying on the ground. 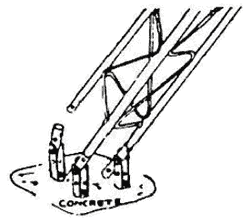 6 Connect the remaining tower sections. At this time, accessories such as rotor shelves, rotors, mast pipe, antennas, coax, and rotor cable can be added to the tower. 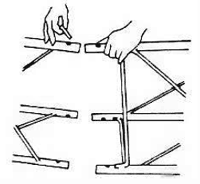 7 Walk the fully assembled tower up into its upright position and then replace the base bolts to secure it. 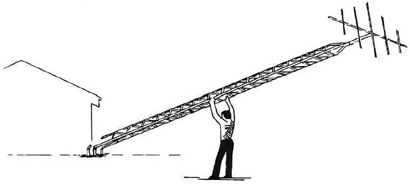 Note: Aluminum tower sections should never be directly set in concrete. The corrosive effects of concrete will damage the aluminum. Tower sections also require drainage to prevent freezing and splitting damage. Always use our steel anchors. 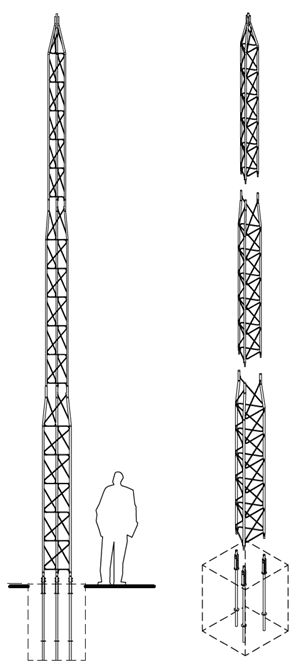 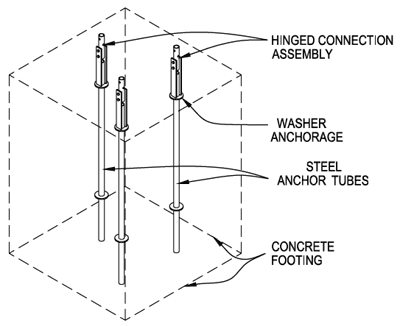  "Always a Whale of a Deal!" © 2025 Palco Electronics, Inc. All rights reserved. |
|||||||||||||||||||||||||||
